


Table of Contents
ToggleIntroduction
A ceiling leaking water is one of those problems you can’t ignore. Drips, brown stains, bubbling paint, or a bulging patch of plaster are all warning signs that moisture has already moved into places it doesn’t belong. In UAE homes—where air-conditioning runs most of the year and many apartments sit stacked above bathrooms and kitchens—ceiling leaks are common, but they don’t have to become disasters. In this guide, we explain the causes, quick steps to limit damage, how to find the source, repair options, costs, and simple ways you can prevent the next leak.
1. Common Causes of a Ceiling Leaking Water
Ceiling leaks usually start above the spot you see—but “above” might mean the floor above, an AC unit in the false ceiling, or even a roof many meters away. These are the most frequent culprits in UAE homes and offices:
- AC condensation overflow: Blocked condensate drain lines, cracked drain pans, or poor insulation allow water to drip from ducting or air handlers hidden in the ceiling.
- Bathroom plumbing from the unit above: Leaky shower mixers, loose trap seals, cracked grout or failed waterproofing under tiles allow water to migrate and show up in your ceiling.
- Pressurized pipe leaks: Pinhole leaks in hot/cold supply lines or fittings will leak constantly and often cause warm, steady damp patches.
- Roof or terrace ingress: Compromised membranes, blocked roof drains, or failed sealant around penetrations allow rainwater to travel and appear far from the true entry point.
- Condensation: Cold supply pipes or metal ducts “sweat” when insulation is missing or damaged, creating slow, persistent moisture.
- Appliance overflows: Washing machine/ dishwasher from the floor above, or a water heater pressure discharge, can dump significant water quickly.
2. What You Should Do Immediately (Safety + Damage Control)
Fast action in the first 30–60 minutes saves money and stress. Here’s a practical, step-by-step approach:
- Protect people and power: If water is near light fixtures or switches, turn off power at the breaker to that circuit. Do not touch wet fittings. Safety first.
- Contain the water: Place buckets, towels, or plastic sheets under the active drip. Move furniture and rugs away. If the ceiling is bulging, carefully relieve the bulge by puncturing a tiny hole in the lowest point with a screwdriver, while holding a bucket underneath. This prevents a sudden ceiling collapse—but only do this if it’s clearly safe and power is off.
- Stop the supply (if pressurized): If you suspect a plumbing leak from your unit, close the main water valve. For AC leaks, switch the unit off; for roof leaks, wait out heavy rain and keep collecting runoff.
- Document everything: Take clear photos and short videos of the leak, stains, and any visible sources. Note date/time and what was running (AC, shower, washer). This helps with landlords, building management, and insurers.
- Ventilate and dry: Open windows if weather allows. Set up fans or dehumidifiers to slow mold growth. Do not seal the ceiling back up yet—moisture must dry out fully.
3. Pinpointing the Source (Simple Clues That Save Time)
Finding the source is the hardest part. Use these clues to narrow it down before calling help:
| Symptom | Likely Source | Quick Test |
|---|---|---|
| Leak only when AC runs | Blocked AC drain / cracked pan / sweating duct | Turn AC off for 2–3 hours—does dripping stop? |
| Leak only when someone showers above | Failed shower waterproofing, grout, or trap seal | Ask neighbor/household to run shower for 5–10 min; observe ceiling. |
| Warm damp patch, leak all day | Pressurized hot water pipe leak | Shut main valve—if dampness slows, likely a supply line. |
| Leak during or after rain | Roof/terrace membrane or drain issue | Check roof drains, balcony thresholds, exterior sealants. |
Other helpful checks:
- Water meter test: Turn off all fixtures. If the meter still moves, you likely have a pressurized leak.
- Color and smell: Rusty-brown stains suggest long-term seepage; clear, cool water often hints at AC/condensation; musty odor means prolonged dampness and potential mold.
- Infrared (IR) or moisture meter: Pros use these to map hidden moisture without tearing out large areas.
4. The Risks of Waiting (Why Speed Matters)
Delaying repairs turns a small problem into a large, expensive one:
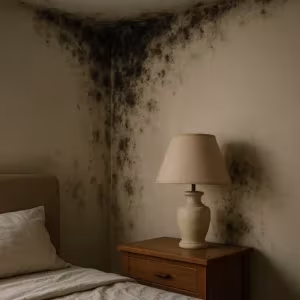
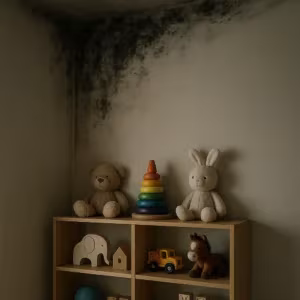
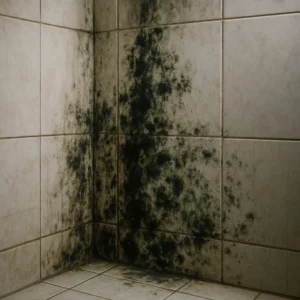
- Mold growth within 24–48 hours: Gypsum, wood, and acoustic tiles absorb moisture rapidly. Once mold colonies establish, you’ll need professional remediation—not just a repaint.
- Electrical hazards: Persistent moisture around light fixtures and junction boxes increases shock and short-circuit risk.
- Structural damage: Soaked plasterboard sags and may collapse; timber can swell or rot; steel fixings corrode.
- Finishes ruined: Peeling paint, blistered plaster, and delaminated laminate add to restoration costs.
Bottom line: the cheapest time to fix a leak is the day you notice it.
5. Repairs That Actually Last (By Cause)
The right repair depends on the root problem. Here’s what lasting fixes look like in practice:
AC & Ductwork
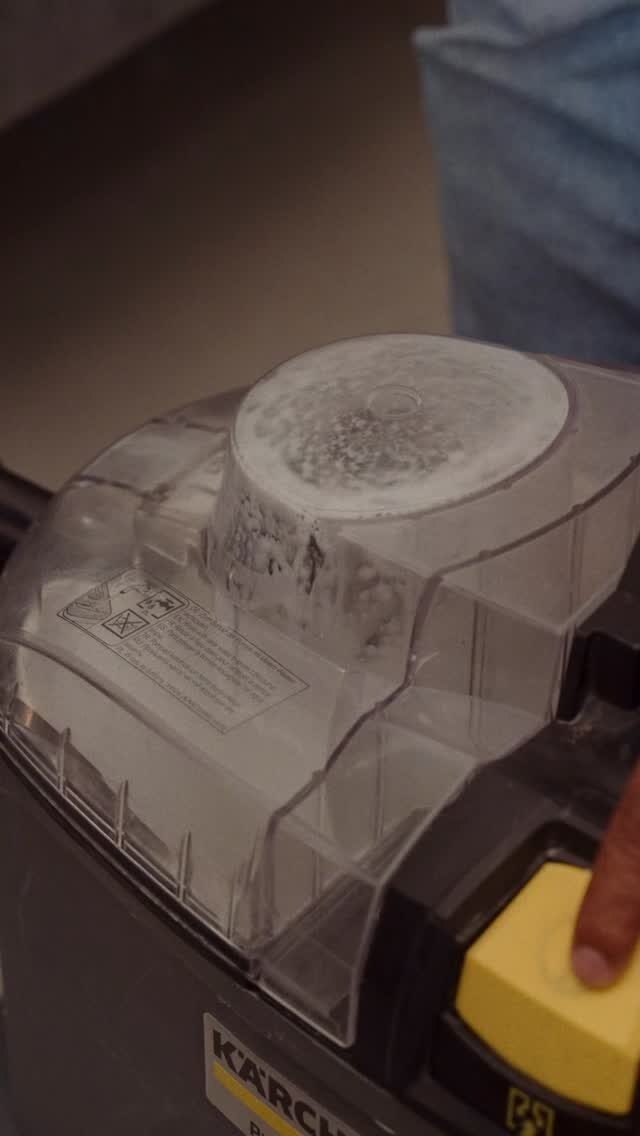
Clear the condensate drain line (often with vacuum/air-blast), replace cracked drip pans, reinsulate sweating ducts, and correct slope toward the drain. Service the air handler and clean filters so condensate flows freely.
Bathroom Waterproofing
For minor grout cracks, regrouting and resealing may suffice. For chronic leaks, the shower floor/walls might need membrane repair—this means removing tiles locally, installing new waterproofing, and retiling. Trap seals and waste connections should be checked and reseated.
Pressurized Pipe Leaks
Cut-and-replace the failed copper/PPR section or fitting. Pressure-test before closing the ceiling. Consider adding an access panel where valves or traps sit—future you will thank you.
Roof/Terrace Ingress
Clear roof drains, re-seal penetrations, and repair membrane blisters or laps. In some cases, a new topcoat or localized membrane patch is applied. Ensure water falls to drains (correct slope).
Finishes Restoration
Once dry (targeting wood/gypsum moisture near ambient), remove damaged plasterboard, treat the cavity with an antimicrobial, dry thoroughly with fans/dehumidifiers, reinstall board, skim, prime with stain-blocker, and repaint. Painting wet substrate guarantees stains will reappear.
6. Costs & Who Pays (UAE Context)
Every job is different, but these typical scenarios can help you plan:
- Minor AC drain clear + patch repaint: Lower cost if access is easy and finishes are limited.
- Localized pipe repair + ceiling restoration: Moderate cost; higher if night work or access scaffolding is needed.
- Shower waterproofing repair (partial retile): Moderate to higher cost depending on tile type/availability and membrane scope.
- Roof membrane patch + interior repairs: Moderate to higher cost if multiple areas are affected.
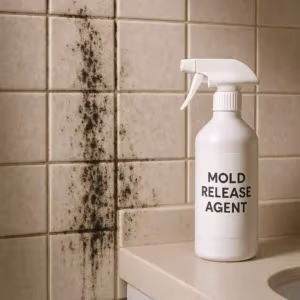
- Mold remediation add-on: If the area stayed wet for days, include professional drying and mold treatment.
Responsibility: In many UAE buildings, leaks from common services (roof, risers) fall under building management. Leaks from your private fixtures are usually your responsibility. If water is coming from the unit above, inform building management promptly so they can coordinate access. Always keep photos, chat logs, and invoices.
Insurance: Some contents or home policies cover sudden accidental water damage (not long-term neglect). Documentation and rapid mitigation improve claim outcomes.
7. How to Prevent the Next Leak
Small habits and seasonal checks make a big difference:
- Service AC annually: Ensure drains are clear, pans intact, and insulation in good condition.
- Inspect silicone and grout: Re-seal showers and bath perimeters when cracks appear. Don’t let water sneak behind tiles.
- Watch for early signs: Fine hairline stains, faint musty smells, or peeling paint near vents are early warnings—act then.
- Mind ventilation: Use exhaust fans; crack a window when humidity is high indoors; avoid pushing wardrobes tight to exterior walls.
- Protect below appliances: Drip trays under washers/ heaters; check hoses and valves every few months.
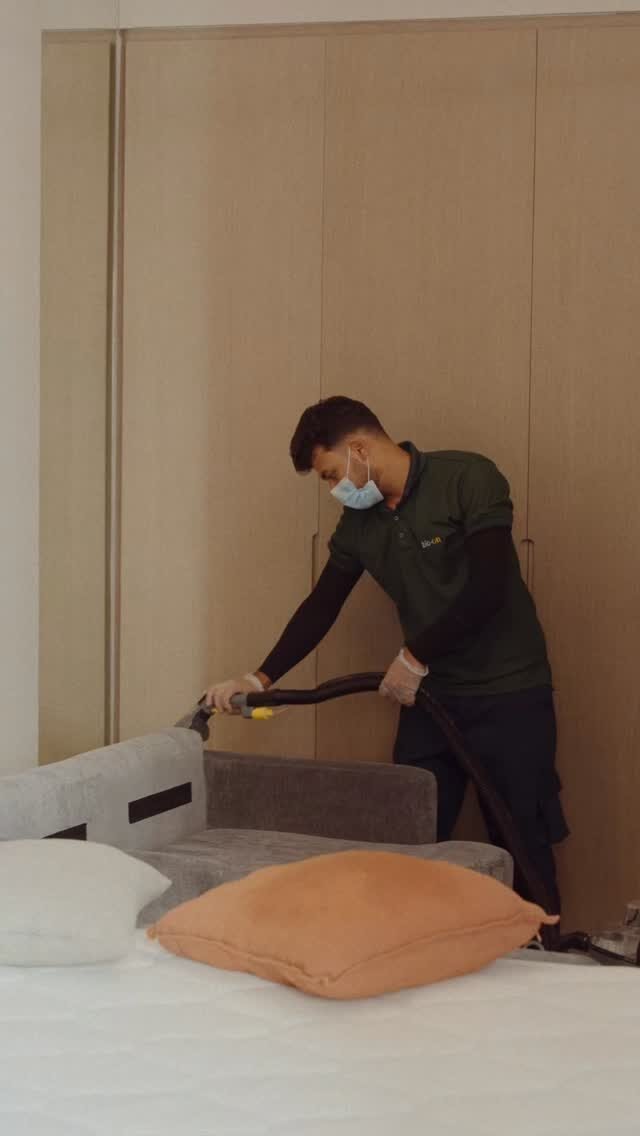
8. When to Call Professionals (and What You Can Expect)
Call for help if the source isn’t obvious, the leak won’t stop, electricity is involved, or you see swelling/bulging. A professional team will:
- Survey with moisture meters/IR to map wet areas.
- Open the smallest necessary access to inspect and repair the actual cause.
- Dry the cavity (fans/dehumidifiers) to safe moisture levels.
- Treat surfaces with antimicrobial to deter mold.
- Restore ceilings neatly (board, skim, stain-block, paint) and color-match.
If you’d like a calm, expert opinion tailored to your home, just click the contact button on the right-middle of this post. We can assess, stop the leak, dry the structure, and restore the finish—end to end.
Conclusion
Ceiling leaks don’t fix themselves. The sooner you act—by making the area safe, capturing water, and tracking down the true source—the smaller the repair and the lower the risk of mold or structural damage. With the right diagnosis and a proper repair (not just a repaint), your ceiling will look new again and stay that way. If you’re dealing with an active drip or a stubborn stain that keeps coming back, click the contact button on the right-middle of this post and let us help you put this leak behind you—for good.